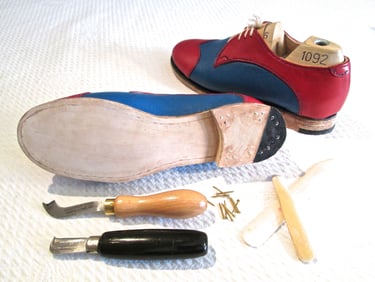
The Derby Day Shoe is entirely hand crafted and hand stitched for strength and beauty. This is a brief insight into the main stages of making them. We cannot offer a complete guide to making them on this page or show all of the tools used, as it takes more than 200 steps over many days to finish a pair.
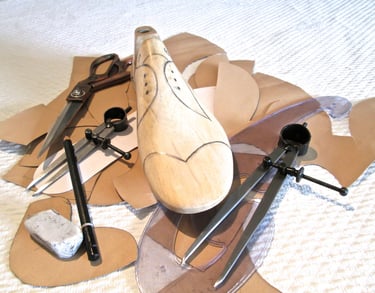
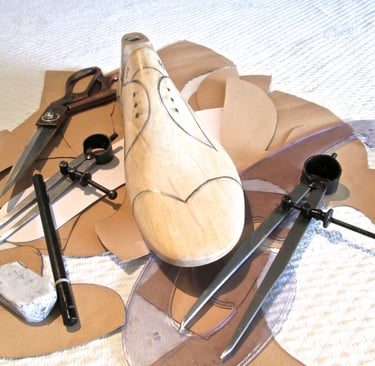
The design pattern is drawn directly onto the wooden shoe last and then transferred to card.
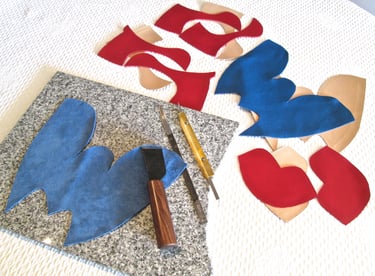
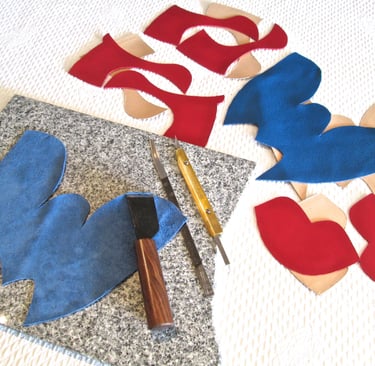
The card is used to cut the pieces of leather for the uppers. Certain edges must be parred or skived before they can be sewn together.

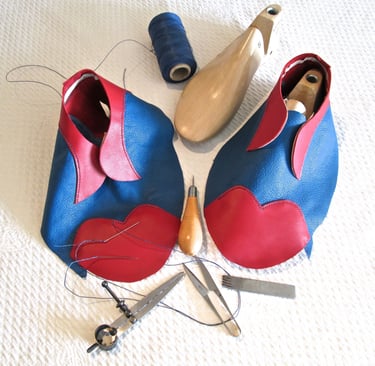
Key areas of the uppers are sewn together. Strong narrow cotton tape is glued around the inside of the collars to prevent stretching there when worn.
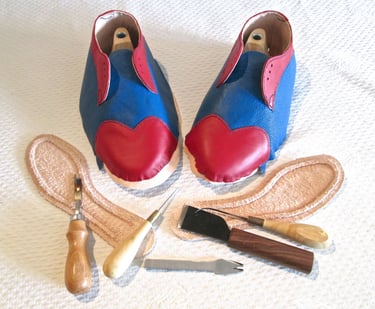
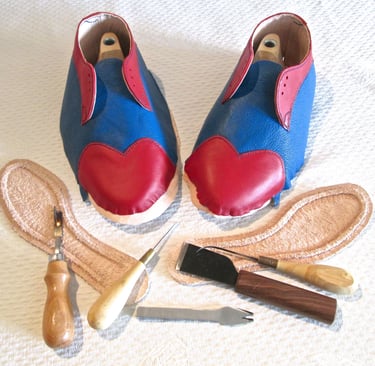
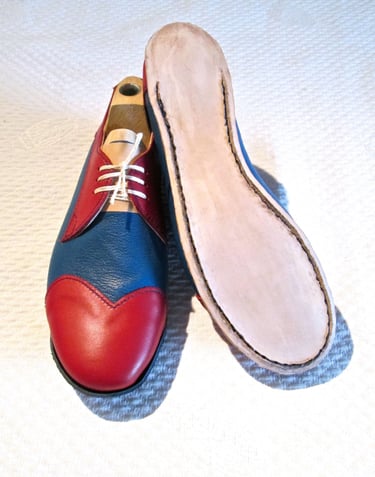
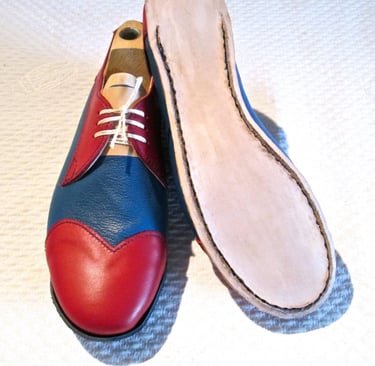
Leather lining has now been glued to the uppers and they are sewn together around the collars and other key areas. The picture does not show the additional pieces of leather inserted between the uppers and linings which is used to stiffen the toes, heels and side areas. The leather insoles are cut and a special raised section, known as the feather, is carved to enable the insoles to be sewn to the linings, uppers and strips of leather, known as the welt, to close these materials around each last. The eyelets for laces have been punched.
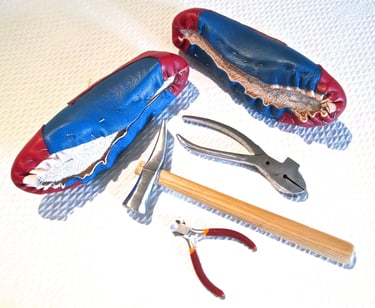
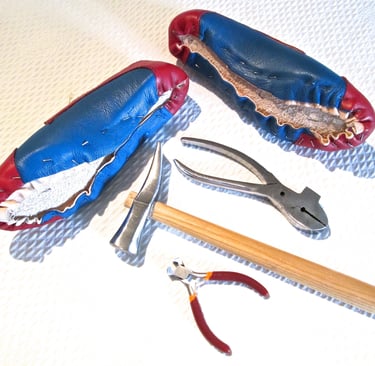
The insoles are fixed to the base of the lasts temporarily with pins. The uppers are then stretched over the last and also pinned through the insoles.
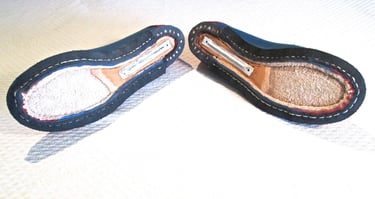
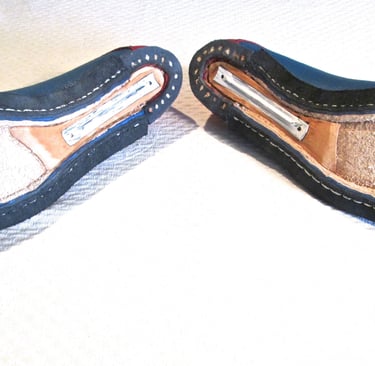
The insoles have now been sewn through the linings, uppers, and welts, to close these materials around the lasts. Another strip of leather, known as the rand, is fixed to each heel area and secured to the insoles and uppers by small wooden stakes or pegs which are coated in glue and hammered into place. The temporary pins have been removed. The excess leather from the uppers is trimmed away. Metal shanks have been coated with primer and fixed in place with rough leather to support the arches.
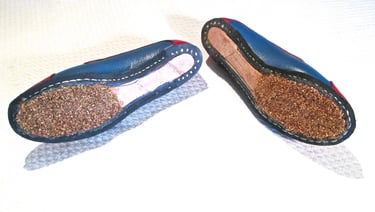
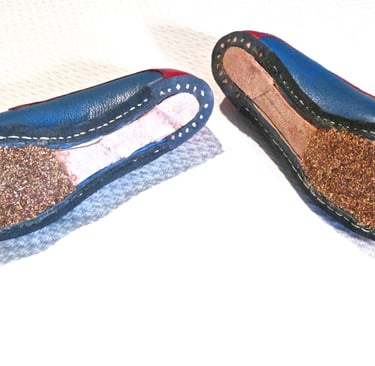
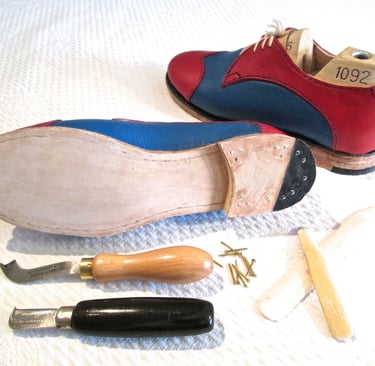
The shanks are now covered in more rough leather and the front area under each shoe is filled with cork, as it is lighter than more leather. The base of the shoes is filed smooth to enable the outsoles to be fitted.
Extra thick and strong pieces of leather have been cut and glued to the bottom of the shoes to create the outsoles. A groove is cut around the edge to house the stitches attaching the welts, uppers, and insoles to the outsoles.
The outsole groove is now closed back with glue which protects the stitches inside from wear. Strong leather pieces for the heels have been cut and nailed into place with a piece of tough rubber at the outside. The edges of the outsoles and heels are cut closer to the contour of the shoes.
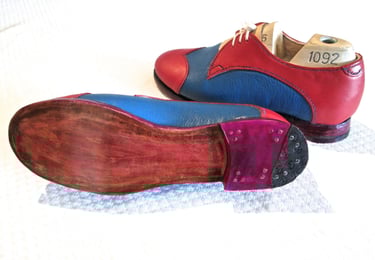
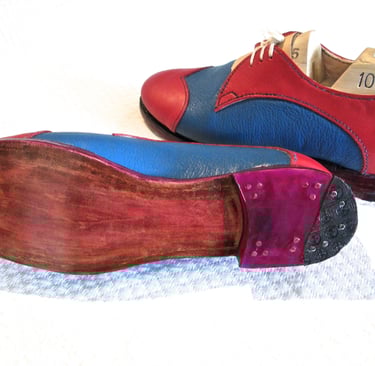
The outsoles are given an antique mahogany colour stain and buffed to a shine. The shine will fade as soon as worn outside but it makes the shoes more pleasant to view when new. The base of the heels and the sides of the outsoles and welts have been stained with a purple dye, smoothed with a hot ironing tool and polished to a bright glaze.
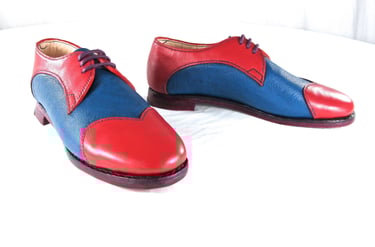
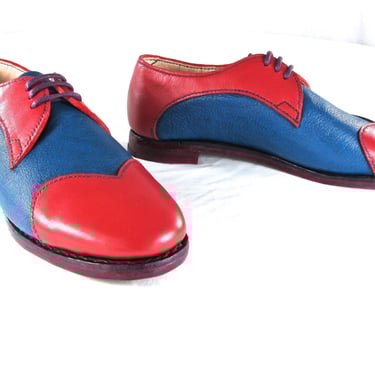
Many finishing touches are made and the shoes have been removed from the lasts. The collar edges are dyed red, laces are fitted, linings for the base of the foot inside are fitted and a final polish is applied to the outside. The shoes are now ready to wear.
'Worm Eats Bird' is a registered trademark of M Wray and Son Limited, Company Number 09767949. All our products are made in England. Please contact us by email at wormeats@gmail.com with any enquiries. Thank you...